It’s time to finally get the gutter installed for the upgraded water collection we have in mind!
After completing a couple weeks of preparations for our water collection project, it’s finally the day to install the gutters. My parents and aunt and uncle came down and we quickly got to work!
Getting started
We ran our first piece of guttering and installed it on the chicken coop.
Because of the enclosed run, it was a bit harder to do. I had to climb on top of the run thanks to a 4×4 that was long enough to go all the way across it. My uncle supervised, my dad held boards on the inside, and I crawled over the run to install.
It was probably the most difficult of the gutters to install, but we got it done.
We moved on to the wood splitter cover and had no problems with it.
My uncle then showed how the machine worked, and some of the tricks he and my cousin learned when they first starting their guttering business.
That was a very interesting machine.
Moving on
We then ran out all the other guttering pieces. The covered porch, the shed, and both sides of the living room.
We quickly installed the gutter on the porch, but ran into some design issues with the downspout, but they weren’t horrible. Part of it was knowing exactly what we wanted. That’s one of the reasons I wanted to make sure we had barrels in place before they got here.
This is our only water on the property unless we haul it in (like we have till this point) so that’s why we’re looking to add water collection on every roof that we can.
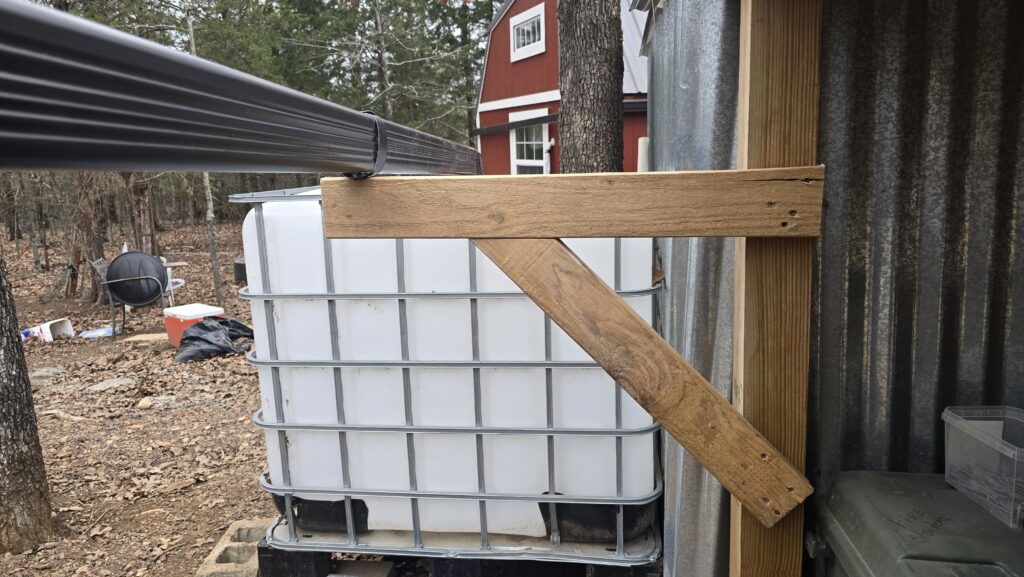
Down spout trouble
Running the gutter on the shed was easy enough, but getting the “down spout” to the IBC Tote was the more challenging of the piece.
We can’t have a water collection system if we don’t actually collect the water.
We wanted the tote high enough to get a 5 gallon barrel under it, but water still has to run downhill.
Because of the height of the IBC tote, we ended up running the water out of the end of the gutter instead of the bottom of it.
He said he’d never done that before, but there was no reason we shouldn’t be able to.
Worst case scenario, we’d have to replace the endcap and do it again later.
Doing that helped us get the downspout to the tote high enough, but it did cause the downspout to be farther away from the building.
I installed a couple of support arms to hold it, and after they left, I came back and added some supports to them.
I think it will work.
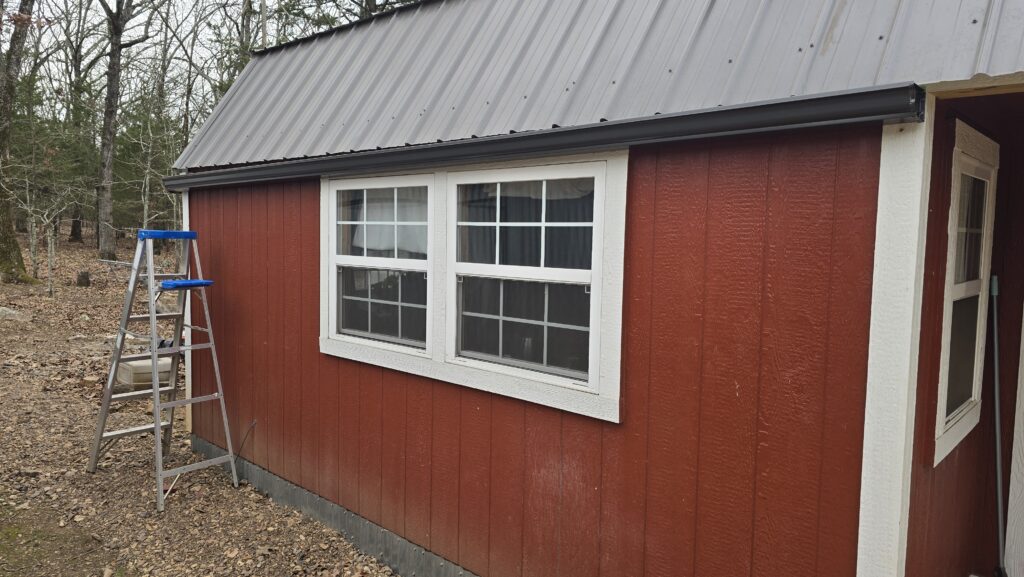
Main cabin
Then it was time to move on to the main cabin.
I’d spend more time than I would have liked making the blocking for the gutter brackets to screw into, and it was time to get those installed.
We held up the guttering, and then I went through and marked the locations of the supports.
Once done, we took down the guttering and I stalled the blocks, then we installed the guttering.
Then we moved to the other side, and did the same thing.
It was then time for downspouts again.
This was a bit trickier.
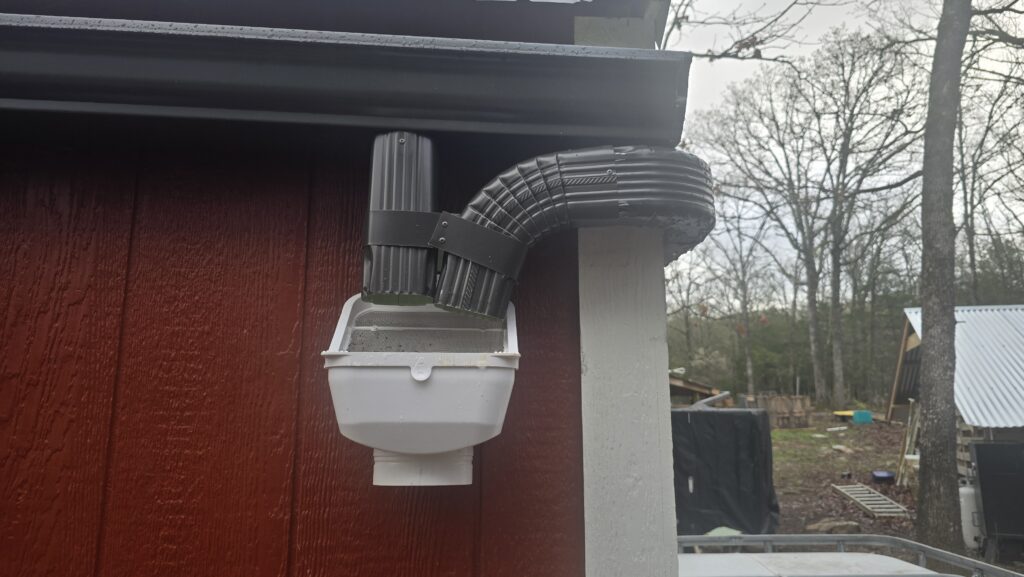
Leaf diverter
Our plans for this building water catchment will be to eventually drink the water from this system.
Because of that, we’re doing a bit more to it than just catching it.
We’re using a leaf diverter and then a first flush system before running the water into IBC totes. We got our leaf diverter from Rain Harvest Systems. I had heard of this system and thought we’d give it a try.
Finishing up
If it was possible and would work, I wanted to try to run both downspouts into the same system.
We ended up running the gutter on the east side of the building out the end of the gutter like we did on the shed.
I laughed about him never trying it before, and then doing it twice on my gutters.
We were extremely happy though about how it turned out.
It was a great day!
We got a lot done and I got to spend time with family, which is always a great thing!