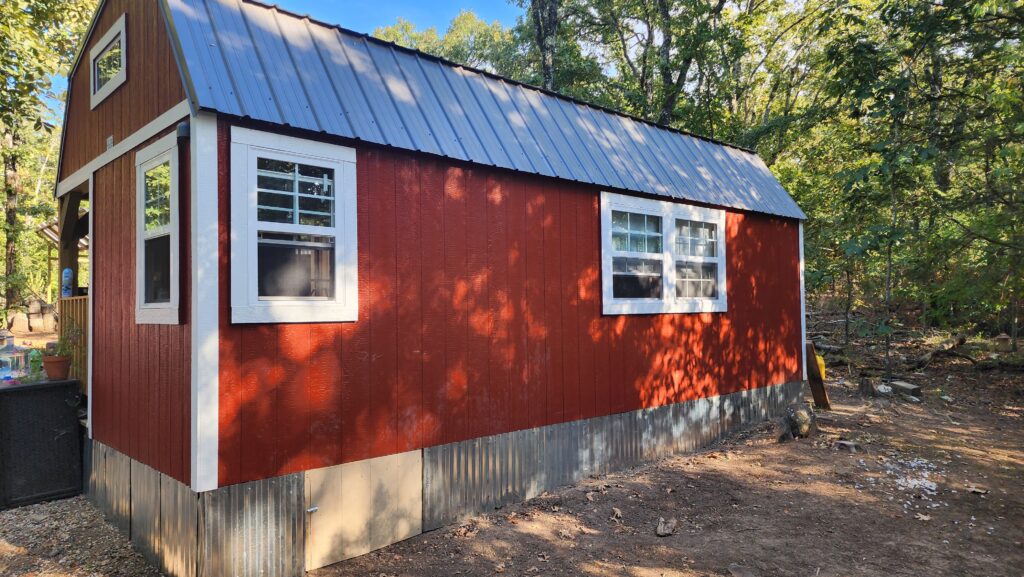
Cabin skirting project complete! No more fluctuating temperatures on the floor. At least, that’s what we expect. It did make a huge difference on the other cabin.
Completing the lean-to roof and re-roofing the shed was a huge accomplishment. And with the weekend to myself, I was looking to check another box off our to-do list for the year, and decided to skirt the cabin. When we installed the mini-split, I skirted the south side of the cabin, but had never gotten around to completing that project, so this weekend is it!
How we’ve done the skirting for our buildings is to build a wooden frame, add some sort of insulation (floors are not insulated), and then add the exterior.
When building the wooden frame, I didn’t want the wood to touch the ground. While bugs can crawl up metal or concrete, there’s something about wood that seems to just make a highway for them. So, I wanted to avoid that.
The skirting isn’t heavy, so we didn’t need to really worry about that. We just needed something in place so we can attach the metal that we’re using too.
So what we did was pretty much made U’s. We had 2 boards that are attached to the cabin and come down towards the ground (but again, doesn’t touch it). Then we added a cross beam that we’ll use to attach the metal to. This has worked well on the first cabin, and so we decided to go with it on this one as well.
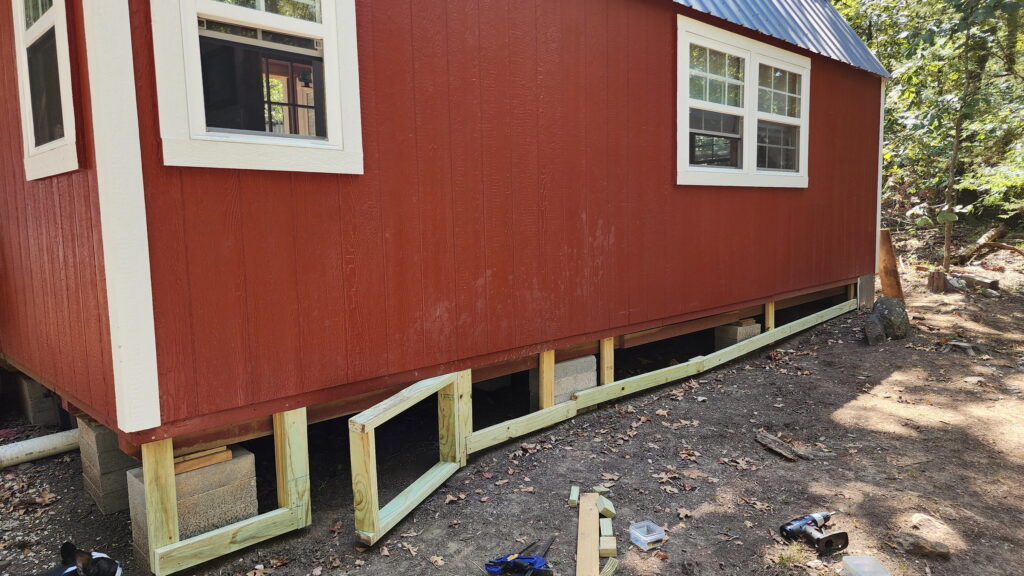
It’s really a pretty straight forward method.
In this cabin, we wanted to be able to get under the cabin without removing the metal.
We are still planning on adding at least one solar panel on this building itself. It will run at least the fan for the composting toilet, possibly a few outside lights, but that’s still undecided. So, we made sure to put in a door that would allow us access under the cabin. We had a little siding that matched the same siding that is on the cabin. I made a little door frame to attach that to. Once painted, I think it will look really good.
Overall, we’re real happy with how it turned out.