
Most of you coming this page have recently bought some of our garlic.
I hope you enjoy the garlic as much as I enjoyed growing it (and eating it for that matter)
Growing garlic is really simple.
It’s probably one of the simplest things I’ve ever grown, and considering growing food is pretty simple, that’s saying something.
Choosing
When it comes to growing garlic, the hardest part may be choosing the kind of garlic you want to grow.
I’ve grown 2 different kinds.
I don’t remember the first, but the second (and the one I’m continuing to grow, is called Lorz Italian Garlic
It’s an heirloom garlic that came to the United States in the early 1900s.
It’s a soft neck garlic that is bold and spicy, and that’s why I like it!
There are 2 main types of garlic. Softneck and Hardneck.
There are many differences which you can read about, but what mattered most for me was that hardneck garlic does better in colder climates. Softneck garlic does better in warmer climates, and being in Oklahoma, we’re not usually known for our winters, so I went with this softneck variety, and have loved it.
But with all gardening, give it a try, and see what you think.
My only complaint with growing garlic is that first investment.
The link above for this garlic I grow runs $16.95 for half a pound of bulbs.
Planting
Once you’ve ordered your garlic (or know where you are getting it from), the next step is preparing your garden beds.
In our area, the ground is real rocky, so we do most of our growing in raised beds.
While I don’t normally use any kind of tiller for my garden, I decided to loosen and fluff the soil on the 2020/2021 garlic harvest.
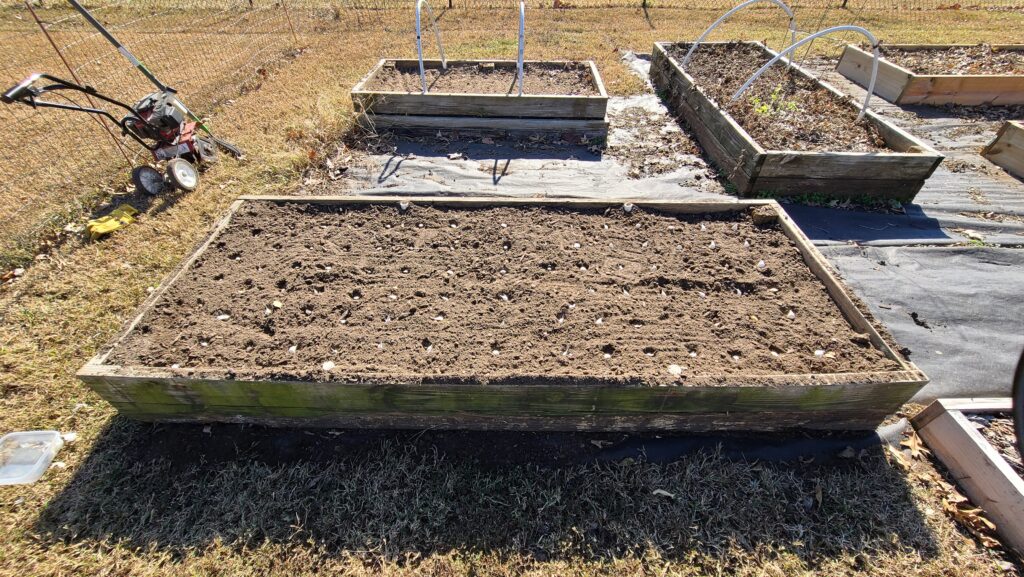
I’m not sure if it made a difference or not, but the bulbs last year were larger than this years bulbs, so I’m going to say it did.
Choosing when to plant is your next decision.
Since garlic is a root crop, I want to give it as long as possible to grow.
Most everything I have read said your best harvests come when you plant in the fall. So, that’s what I’ve always done.
I have read you can plant in the spring for a harvest later in the year, but I’ve always just started in the fall.
Once the soil is loosened, you take your head of garlic, and break apart your cloves.
You plant them “root” side down 1 inch deep. I use a spacing of about 5 to 6 inches apart
Here in Northeastern Oklahoma, I usually plant my garlic late October to mid November.
Here is my video from the 2021
Harvesting / Curing
So, you planted your garlic in the fall, and you’ve made it through the winter and spring, just watching those greens grow, just waiting for your chance at some delicious garlic.
Your wait is about over!
You may be asking yourself, “Self, when should I harvest my garlic?”
And if you are, that’s a very good question.
For softneck garlic, it’s best to harvest when about half of the leaves have turned yellow.
If you wait too long, the cloves may pull away from the head, and while it will still taste fine, it wont keep long that way.
For hardneck garlic, what I’ve read is harvesting should take place when the bottom 3 or 4 leaves have turned brown.
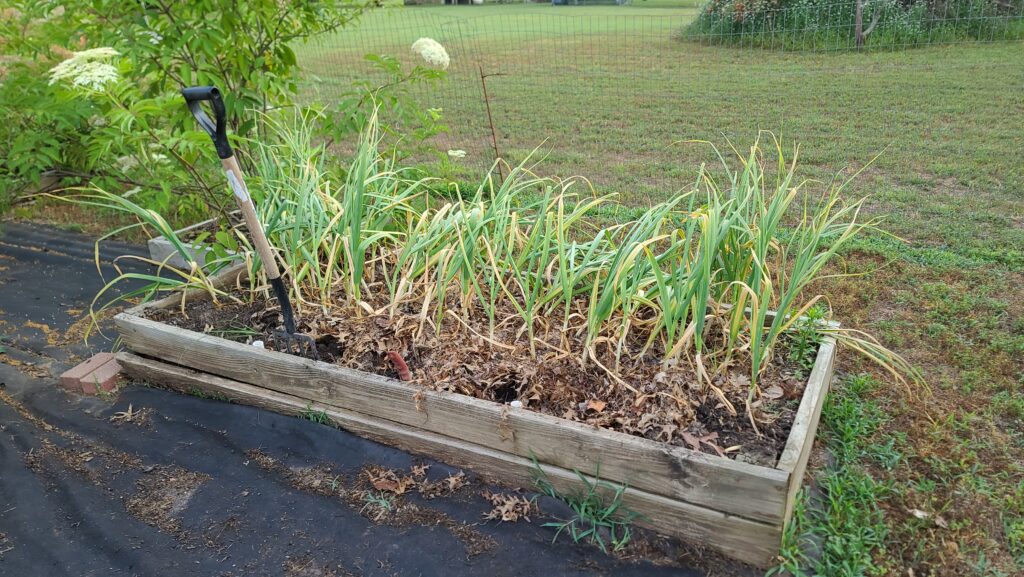
You can see above, I was about perfect, though probably a week or so later than I probably should have.
I like to use a broad fork to harvest my garlic as I tend to do a good job getting the garlic out of the ground that way without harming any of the bulbs.
If possibly, what I’ve found to work best for me, it to harvest early morning or on a cloudy day.
Once you’ve harvest your garlic, you need to get the garlic into a nice shady space to cure with really good ventilation.
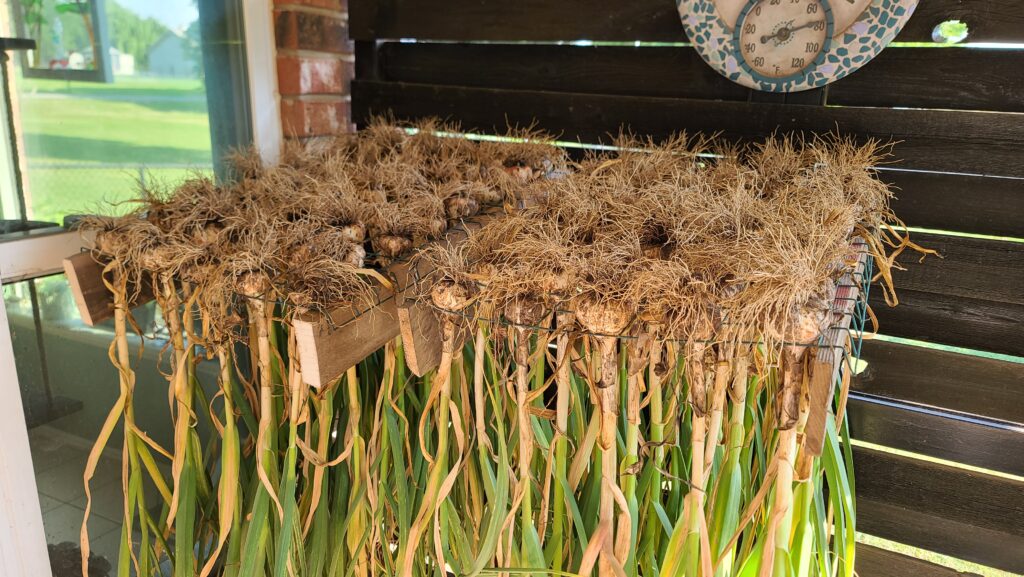
I’ve made these racks out of some 2×4’s and some old wire rack from a tiny green house we had
Here’s the harvest video from the 2021 harvest, which may have been my best to date.
Cleaning / Storing
One of the most import parts of raising your own garlic is letting the garlic dry out so you can store it properly.
Moisture in the stems will allow mold to grow, and mold will ruin any crop.
Once I take my garlic down from it’s drying rack (homemade),
I found a nice spot to sit down and do some work. Depending on how much garlic you grow, this may take a little bit of time.
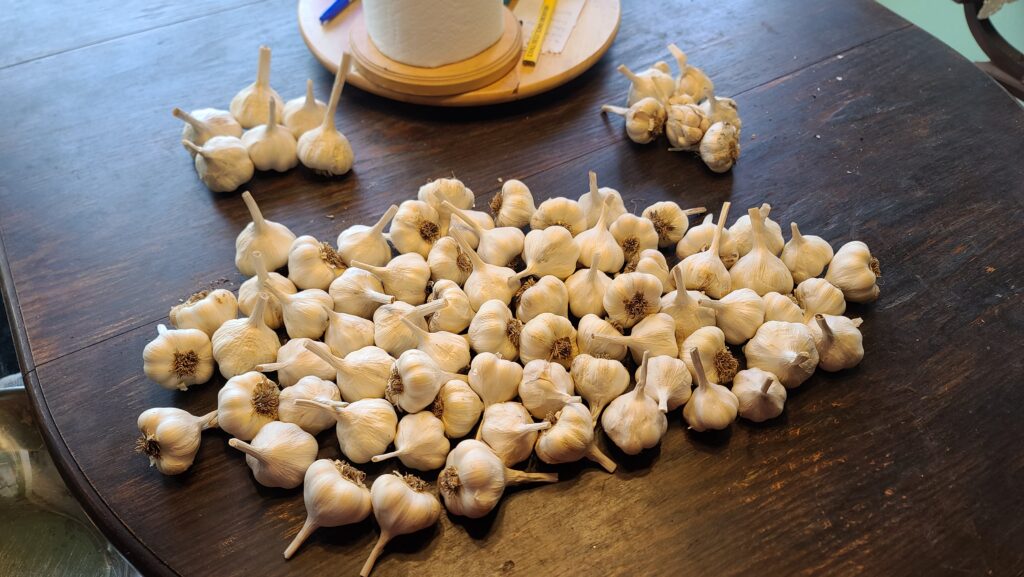
I first start by taking your garlic, and cutting the stem off about 2 inches above the head of the garlic.
Once that is done, cut the roots off near the bottom of the the head of garlic.
Now, be sure to brush off any loose dirt that may still be hanging onto the head.
If you want it to look nice, or plan to give to friends/family or sell, you may want to go ahead and take the outer most layer of skin off.
That gives you a nice clean head of garlic (which most people are used to seeing at the grocery store.
So, depending on how much garlic you have, this can take a little time.
If your lucky, maybe you can pull a Tom Sawyer and have someone pay your to do it because of how much fun you’re having.
Once you get it cleaned, you’ll want to store in a cool, dry, preferably dark place with lots of ventilation.
Here was my video from 2021 on cleaning and storing the garlic
That’s pretty much all there is too it.
If you liked the garlic, save your largest heads to use as seeds for the Fall so you don’t have to go and buy garlic next year.
Now, I think it’s time for some Italian food. I want some garlic!